1. With VMWare Workstation 12 opened, click on File => New Virtual Machine…
2. Choose Typical (recommended) and click OK
3. Choose Installer disc image file (iso) => click Browse and browse to your ESXi installer ISO file => click Next to continue
4. Give your virtual machine a name and specify the virtual machine location then click Next
5. Specify your virtual machine’s hard disk and click Next
6. Click on Customize Hardware to customize your virtual machine
7. Customize your virtual machine base on your requirement. I’m going to give each ESXi host with 8GB of RAM, 2 Processors, 60GB disk, and 8 network adapters based on the lab requirement. Click OK to finish the customization.
8. Now, power on the virtual machine and choose the standard installer to start the installation.
9. At the welcome screen, press Enter to continue
10. Press F11 to accept the License Agreement
11. Select a Disk to Install or Upgrade page, press Enter
12. Choose your prefer language and press Enter
13. Define the root password and press Enter
14. Press F11 again to confirm the installation.
15. Wait for the installation to finish and press Enter to reboot the virtual machine.
Initial Configuration of ESXi Server
The following, we are going to DCUI mode (Direct Console User Interface) to do the initial configuration.
1. After rebooted, press F2 to choose the <F2> Customize System/View Losgs option
2. Enter the root password you defined during the installation and press Enter
3. Use the arrow keys on your keyboard to select the options. Make sure the Configure Management Network is selected and press Enter
4. Select IPv4 Configuration and press Enter
5. Select Set static IPv4 address and network configuration option then assign your IP address, Subnet mask, and default gateway. Press Enter to finish.
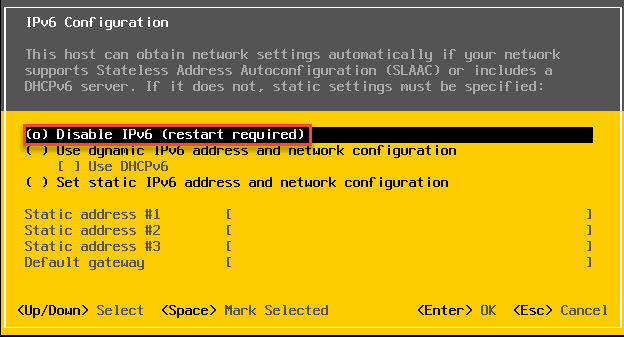
6. Select the IPv6 Configuration and press Enter to go into IPv6 configuration page
7. Choose to disable the IPv6 and press Enter. If you are using IPv6 in your environment, you can keep it, however, I am not going to use IPv6 here.
8. Select DNS Configuration and press Enter
9. Fill in your DNS servers and hostname of the ESXi server and then press Enter
10. Select Custom DNS Suffixes
11. Fill in your DNS Suffixes (Domain Name) and press Enter
12. When done, press Escape to exit. When prompt for confirmation, press Y to confirm the changes and reboot the host.
Using vSphere Client to Configure the ESXi Server
After finishing the DCUI configuration, we can use GUI mode to manage our ESXi server via web browser as well. Note that start from ESXi 6.0, VMWare has eliminated the vSphere Desktop Client from ESXi server and managing via web client comes to essential play.
To manage the ESXi server, follow the steps below:
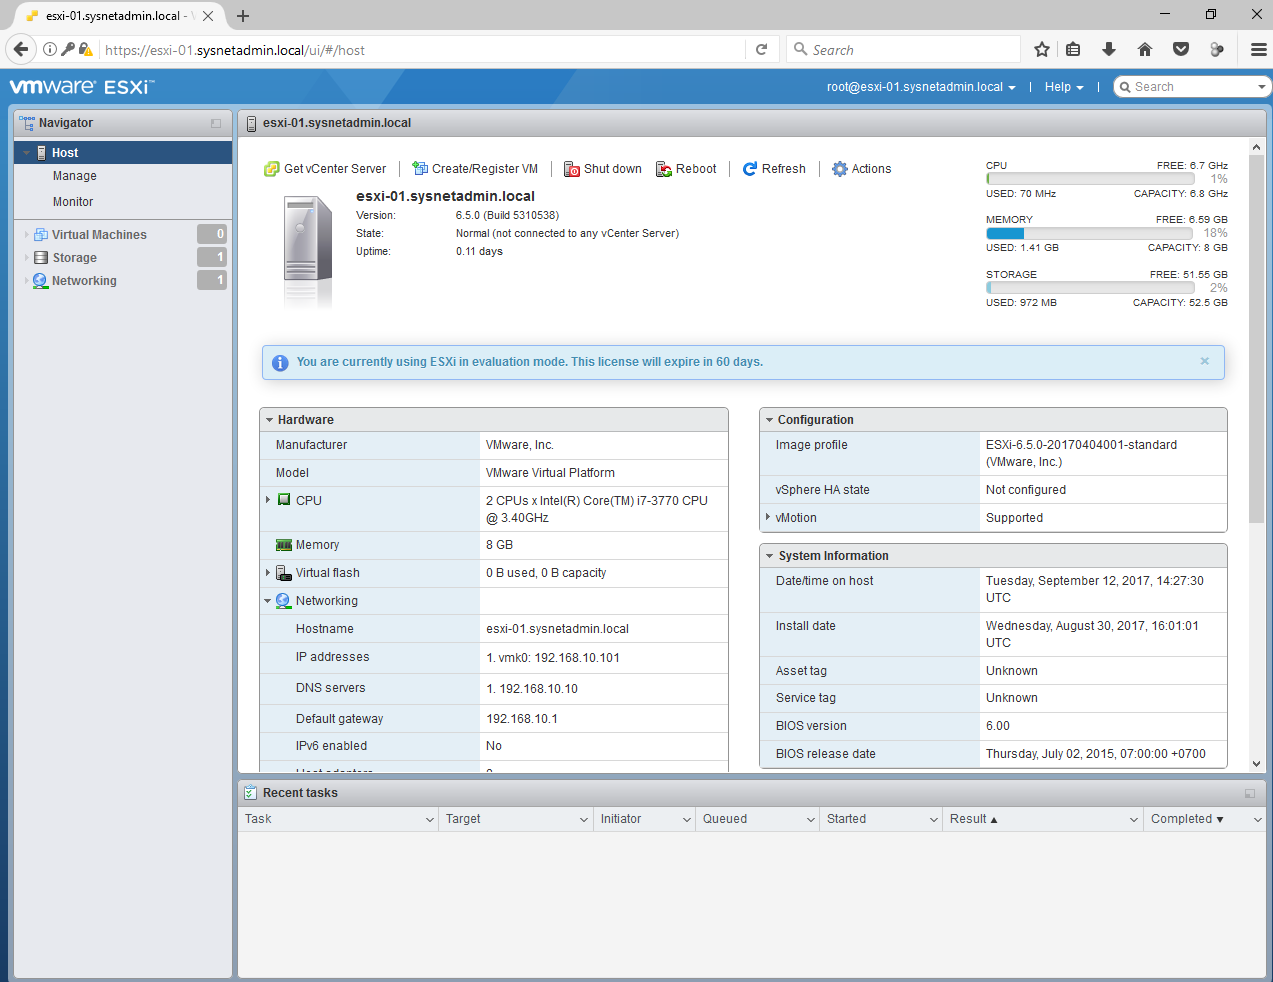
1. Open your favorite browser and type in your https://esxi_ip_address/ui OR https://esxi_hostname/ui
2. Here is the interface of individual host configuration via GUI. I’m not going to detail in this section because the purpose of this lab is going to manage all ESXi servers through vCenter Server and we will go through the detail in the Part 2.
Now we have finished installing and configuring first ESXi server (named ESXi-01). Follow the same steps above to install the second ESXi server and configure following its respective information such as Hostname and IP Address. We will continue the Part 2 in next the post.
Continue to Part 2